


Why Do H11 LED Headlights Need Canbus Adapters?
Quick Answer
An h11 led headlight may need a Canbus adapter when a vehicle monitors bulb current and interprets the LED’s lower electrical load as a failed lamp. The adapter can provide compatible load behavior or signal conditioning, depending on its design. Selection should consider vehicle diagnostics, adapter architecture, heat management, connector fit, and beam performance. The final solution depends on vehicle testing and installation conditions.
How Supports Projects
Project support for this application should begin with a vehicle and lamp audit: original bulb type, warning strategy, connector configuration, available installation space, and the behavior of the proposed LED retrofit. This helps separate a genuine compatibility requirement from a loose connector, polarity issue, poor grounding, or an unsuitable decoder.
Buyers should confirm the target vehicle list, electrical symptoms, adapter type, thermal installation method, sample validation process, and packaging requirements before discussing a bulk order. MOQ, lead time, testing scope, and quotation must be confirmed for each project because vehicle coverage and validation requirements can differ substantially.
Discuss Your H11 Canbus Adapter Requirements
Send the target vehicle makes and models, model years, original bulb specification, market, observed warning or flicker symptoms, available installation space, and expected order volume. These details allow suitable decoder options, sample steps, wiring checks, and compatibility testing to be discussed before production planning. Visit www.carneonlighting.com or email nick@evitekhid.com to discuss your vehicle-specific requirements.
Deep-Dive FAQs
Why does my H11 LED flicker after installation?
Flicker commonly results from pulse-width-modulated output, bulb-out monitoring, or an unstable connection rather than from the LED emitter itself. Many body control modules briefly test a lamp with low-current pulses; an incandescent filament does not visibly respond, while an LED reacts immediately. First verify the H11 connector, ground path, polarity, fuse condition, and seating of the driver. If the vehicle uses pulsed monitoring, a compatible decoder may filter or absorb the diagnostic behavior. Do not assume that any plug-in module is a Canbus communication device: many products are passive load components or electronic stabilizers. Test with the engine running, low beams selected, high electrical loads active, and diagnostic functions enabled where possible.
Can a Canbus adapter fix every H11 warning light?
No. A decoder addresses only electrical compatibility symptoms that its design supports. A warning can also come from an incorrect bulb base, open circuit, damaged wiring, a poor ground, a failed fuse, a control-module fault, or a vehicle that requires software coding. Some vehicles monitor current at startup, while others evaluate current continuously or use lamp feedback through a body controller. Match the adapter to the vehicle’s monitoring behavior and confirm whether the warning occurs at ignition, during operation, or after a timed diagnostic cycle. If a fault code remains after the circuit is electrically correct, scan and diagnose the vehicle rather than repeatedly increasing load.
How do I choose the correct Canbus load for H11?
Choose by measured vehicle behavior, not by a universal wattage label. The original halogen lamp’s nominal rating provides a reference, but actual monitored current varies with supply voltage, pulse strategy, wiring resistance, and the vehicle controller. Identify the original H11 specification, record operating voltage and current, and determine whether the LED driver already includes current compensation. The adapter must fit the circuit without exceeding the fuse, connector, or thermal limits. For fleet or bulk purchasing, validate representative vehicles from each platform, including different model years and regional variants. A successful bench test alone does not establish road-vehicle compatibility.
Why does adding resistance create heat behind the headlamp?
A resistor used to imitate incandescent current converts electrical energy into heat. For example, a 6-ohm resistor at 12 volts dissipates approximately 24 watts, and real vehicle voltage can be higher, increasing dissipation. That heat can damage plastic housings, wiring insulation, nearby control modules, or sealing components if the part is placed in an enclosed lamp cavity. Mount a suitable resistor only where its manufacturer permits, using a secure heat-resistant surface away from wiring and combustible materials. An electronic decoder may reduce heat compared with a continuously loaded resistor, but it still requires thermal validation. Never select a resistor solely because it clears a dashboard warning.
Is a decoder required when the vehicle has no warning?
Not necessarily. If the vehicle supplies stable power, does not perform bulb-out diagnostics, and the retrofit operates without flicker, shutdown, or stored faults, an additional adapter may add unnecessary complexity and heat. However, a warning-free initial installation is not conclusive: some controllers check the lamp during startup, after a delay, or only under particular voltage conditions. Confirm low-beam operation during engine start, cold and warm conditions, charging-system voltage changes, and extended runtime. Also verify beam aim, cutoff quality, driver temperature, connector retention, and radio or camera interference where relevant. The correct decision is based on tested vehicle behavior, not on the bulb label alone.
How should installers test H11 compatibility before bulk purchasing?
Create a vehicle matrix covering make, model, year, trim, original bulb, control-module behavior, and market specification. Test production-intent lamps, drivers, connectors, and decoders on representative vehicles rather than using substitute parts. Record startup behavior, flicker, warning messages, fault codes, current, operating voltage, thermal conditions, beam pattern, and clearance around the rear of the lamp. Repeat after vibration, heat soak, and extended operation when the installation is safety-critical. Confirm whether the adapter interferes with dust caps or moisture sealing. Keep the test results with the purchase specification so changes in driver, connector, firmware, or packaging trigger a new compatibility review.
Recommended for you
LED Headlight Bulb Sizes & Applications: A B2B Market Sourcing and Fitment Guide
How to Launch a Private Label Automotive LED Lighting Brand: An OEM/ODM Roadmap for Distributors
LED Headlight Troubleshooting for Auto Parts Distributors: Installation & Compatibility Workflow

The Technical Guide to Identifying High-Performance LED Headlight Bulbs (2026 Edition)
You May Also Like


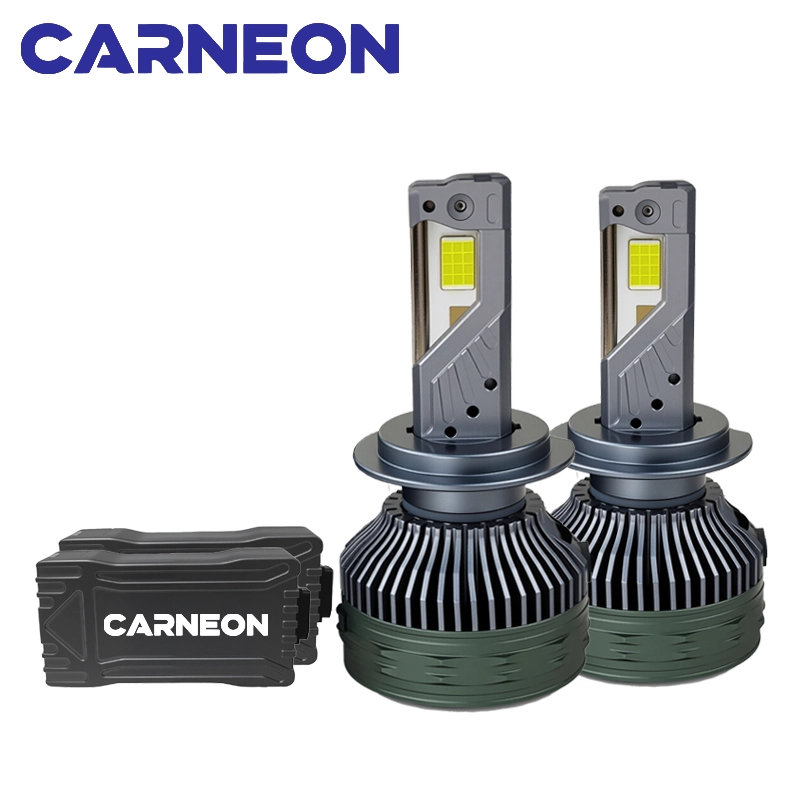

Get More Resources
If you have any comments or good suggestions, please leave us a message, later our professional staff will contact you as soon as possible.
Start Your Wholesale Order / Request OEM Solutions
Partner directly with the factory for competitive pricing and priority support. Please provide your business details and estimated order volume (MOQ applies) so our sales engineers can tailor the best quote for your market.
Contact us


6th Floor, Building B, Liando U Valley, No. 29, Bishan Street, Huangpu District, Guangzhou, China

© 2026 CARNEON. All Rights Reserved. Privacy Policy | Terms and Conditions | Sitemap

Whatsapp: +8618688487142